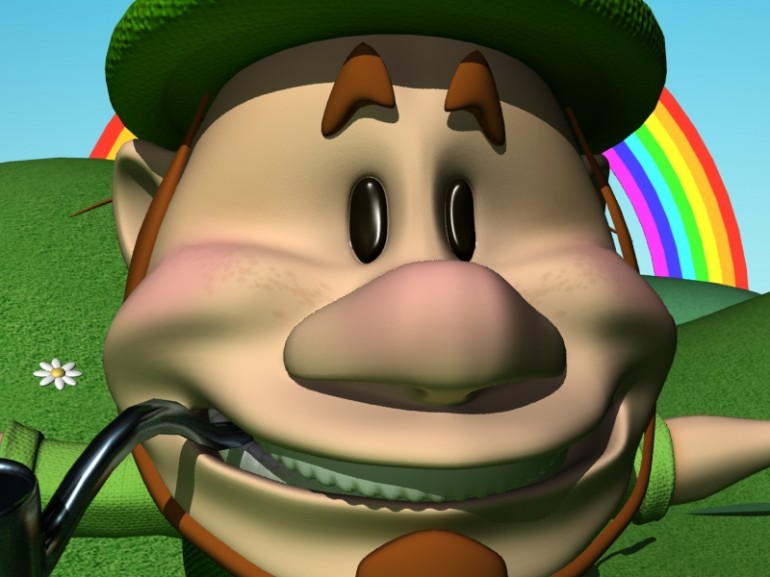
As St. Patrick’s day approaches, we thought that this week we’d share something a little different with you.
We’ve created an extra-special St. Patrick’s Day greetings video that you can personalise and share with friends, family and clients on your favourite social media sites!
We go through the process to show what was involved and how we created the video.
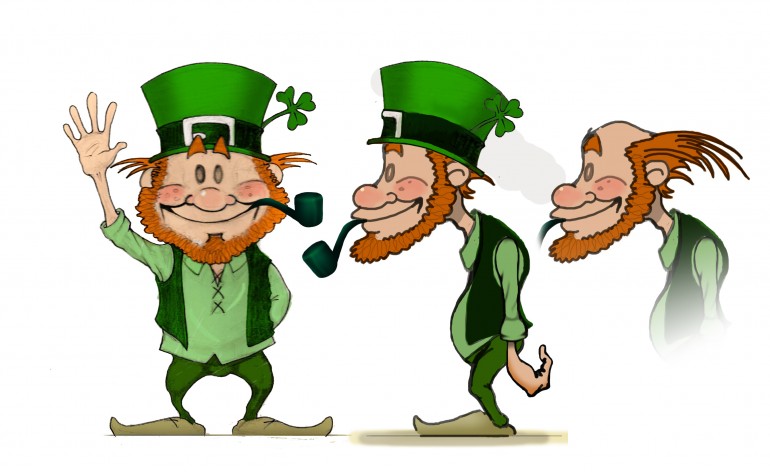
Concept
Our little Leprechaun character concept is initially sketched out and various iterations are created until his appearance and characteristics are agreed upon. Turnarounds, or views of the character from different angles are created; these are used later as reference for modelling.
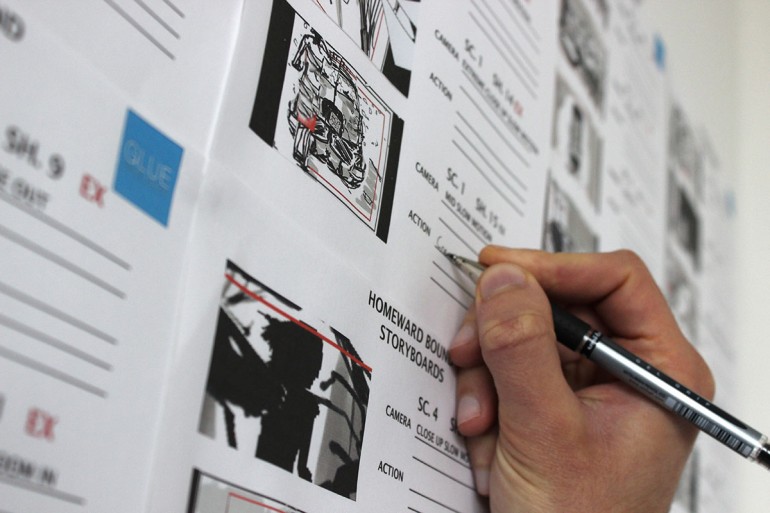
Pre-visualization and Storyboarding
Numerous storyboards are produced to graphically organize and display the sequence of events. Storyboards are essential and are used extensively in any motion picture, animation, motion graphic or interactive media sequence.
Once the storyboard is complete, we can begin to build our character and his environment to place him in the scene.
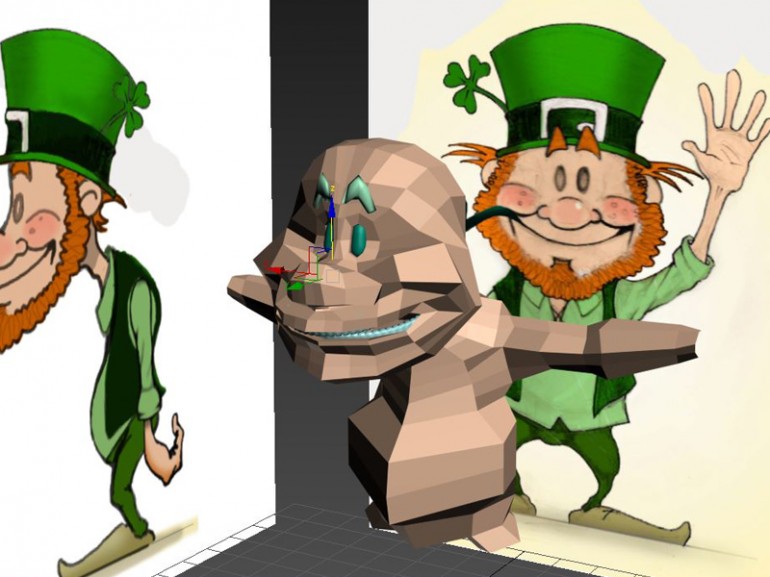
Modelling
The Leprechaun mesh is built (in this case) using standard box-modelling; the turnarounds from earlier are used as a reference template to allow us to build and extrude polygons in 3D space, thus creating our character.
The character is built upon a neutral T-pose, the reason being that it is generally easier to model this way using symmetry and with easier access to all parts of his body. Later on, he will be animated to look more lively and dynamic.
The finished mesh is then sub-dived and smoothed to remove the boxy, polygonal look.
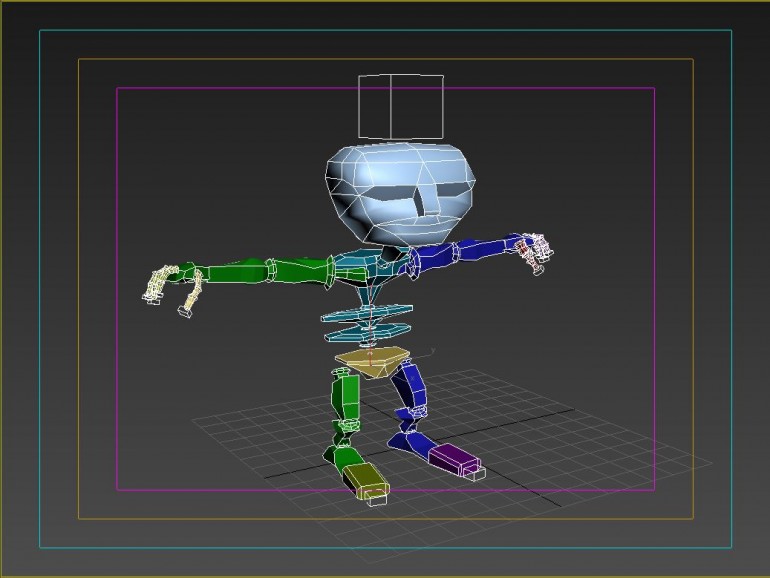
Rigging & Skinning
The character is then rigged to a skeleton or biped within the software (just as a human skeleton’s bones move beneath their skin) using a biped armature specifically designed for animation.
Bone rigs can even be used to create the many tentacles on a giant, deep sea creature or to give movement to a centipede… or even a millipede!
Then, the model is ‘skinned’ using skeletal deformation tools so that the biped skeleton can physically influence the mesh (or ‘skin’), allowing us to control complex algorithms and a huge amount of geometry, giving weight to limbs and controlling a given limb’s range of influence on the rest of the body.
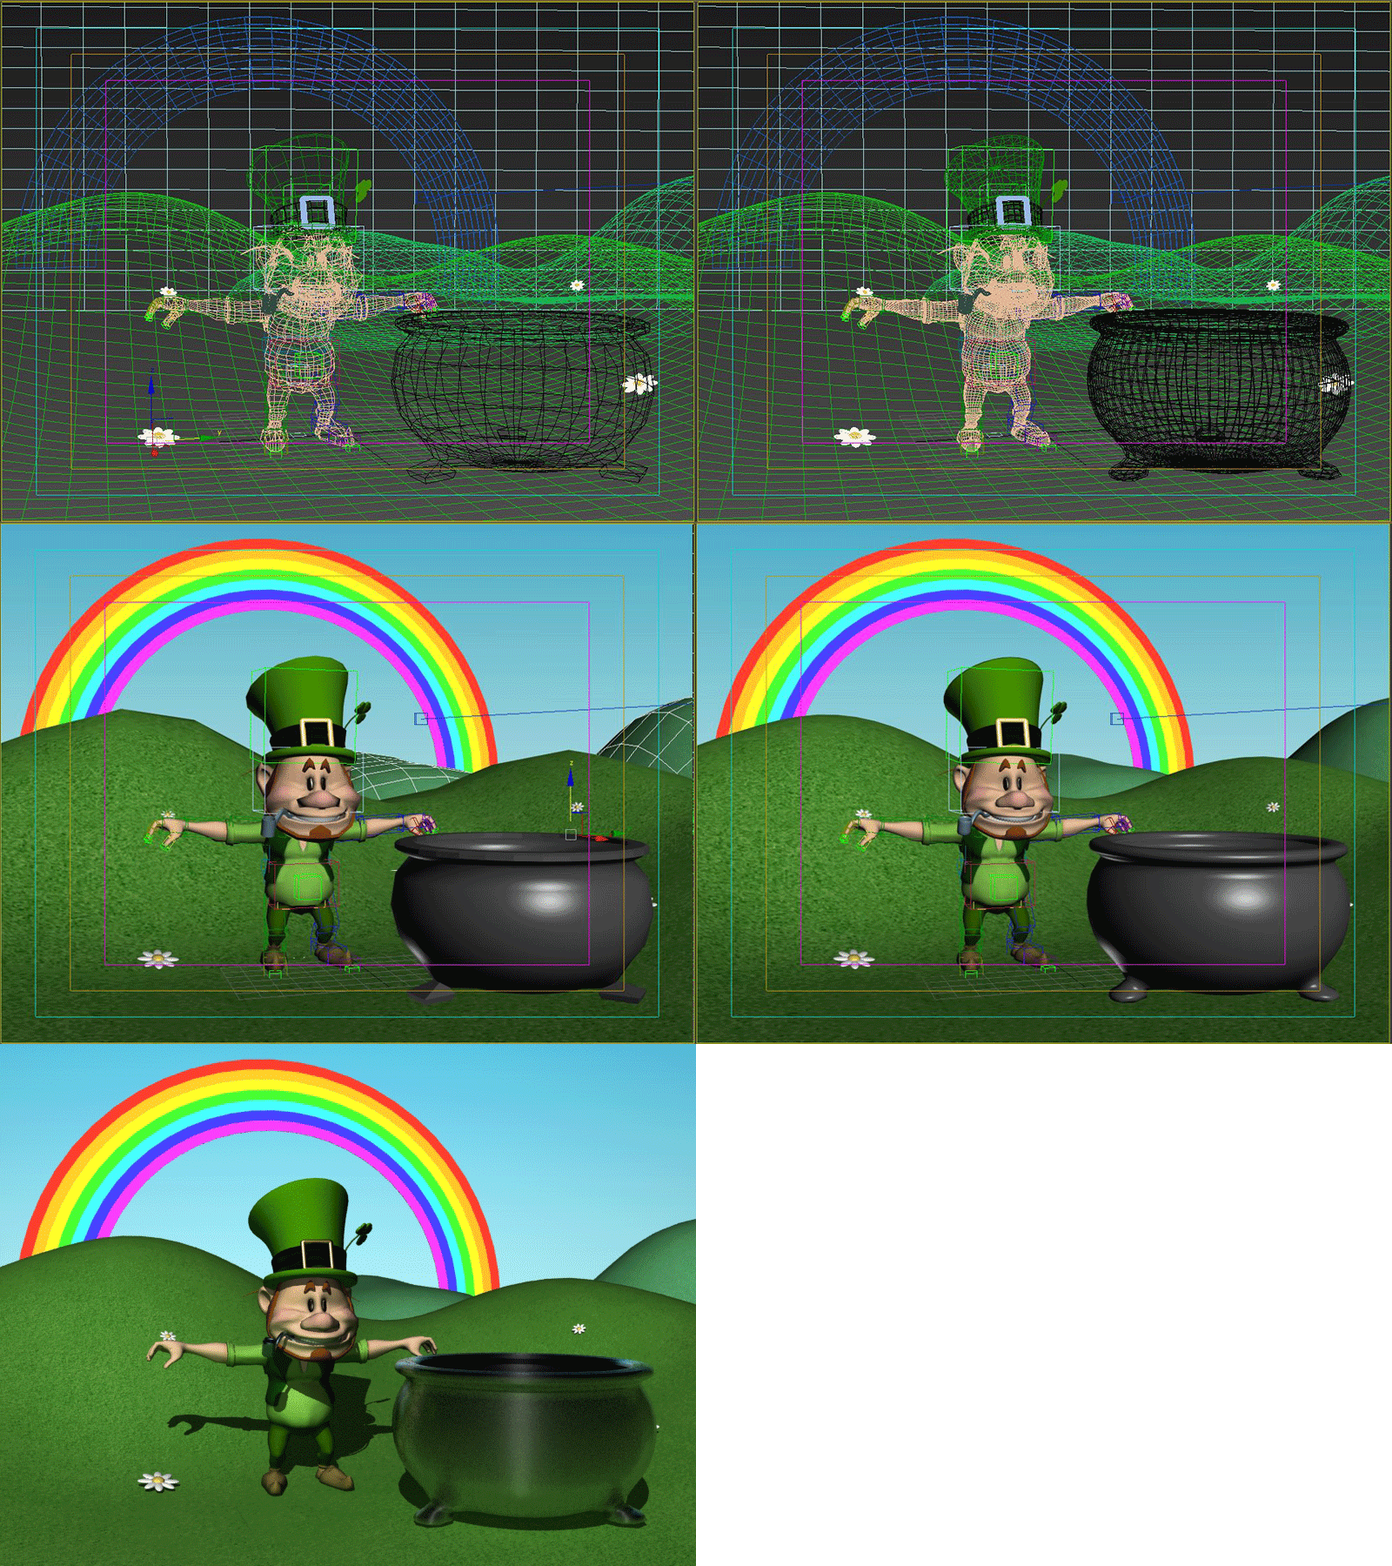
Next week, we go through the process of animating the character, using particle effects to reduce the amount of individual animations needed, and finally compositing all of the elements together to produce a beautiful video greeting.
After that, the next step, is personalisation – but we’ll leave that to you… Check out next week’s blog to see what this little guy gets up to!
GLUE – Bringing reality and imagination together
