
OTTCO
Some months ago, we were approached to create a video for an oil shipping and storage facility in The Middle East.
A large scale industrial project, the video called for us creating a whole host of our favourite things; graphical elements and near-real rendered impressions of the facility including the pipeline terminal, the ground site, buildings and surrounding landscape, moving vehicles and character rigs, wind and textile interaction, water simulation, particle systems, modelling, sculpting, texturing and just about everything else you can shake a stick at.
From CAD to screen – the importance of reference
Working from 2D CAD files and a handful of reference images, we broke the project down into it’s individual parts, adjusting our pipeline to suit the client’s needs.
Oil silos
As part of the modelling process, we had to model four variations of oil storage silos.
The silos ranged in size from 20 meters up to 50 meters in diameter. Of course, reference always comes first, so we worked stringently to the examples we were supplied with.
We were given ground plans and blueprints which denoted exactly where and how these would be placed on site; some would have feeds and outputs above ground as well as below, so we would need to allow for variation rather than creating stock assets and populating the environment.
For the largest of the oil silos we began by modelling to the diameter, creating the raised concrete bases for the silos to sit within. The silo would reach an overall height of 20 meters, surrounded by a guard rail at the top and accessible by steps which curved around the outside of the structure. The steps were made to number, height and riser specifications, fitting the engineer’s requirements.
As a way of completing the staircase with greater ease, the staircase was first modelled as a straight staircase and given enough subdivisions so that it could be bent and curved into position using modifiers within the modelling software.
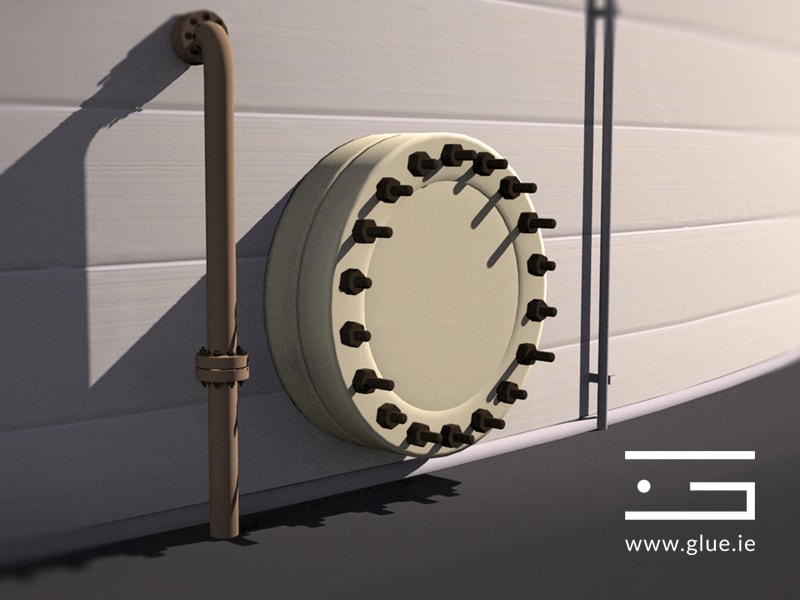
The exterior pipes and feeds were then modelled and placed around the outside of the silo, positioned by using the main structure’s pivot point.
An additional raised staircase was used atop the structure, this had been previously modelled to spec for another scene, so again it could be manipulated with a bend modifier and positioned correctly.
To complete the structure, all struts and supports were modelled and placed accordingly, down to the many hundreds of rivets and valves.
Ocean and water simulation.
During the project we were faced with many challenges, including how to create different types of water.
The project called for creating and rendering a full realistic ocean with waves at various strengths, as well as slightly more graphical representations of undersea water.
Both appear very different, but needed to work together seamlessly.
For all of the water surfaces we used 3D software to generate the ocean. This needed to look as realistic as possible which meant both massive scale and accurate physics.
In doing so, we were soon presented with our first problem; the reflection of the water did not work in our initial tests.
The water beneath its’ surface was too reflective and was reflecting the geometry and environment around it like a mirror.
This highly mirrored reflectivity was due in part to the water being almost still, with no waves, wind or ocean currents.
To correct this, we had to create an animated wind force to create the waves.
The below images needed to be made in a different way with several layers composed together. The surface water was still created using the same 3D program but the underside needed to be more of a graphic representation rather than an accurate one. In a realistic setting, under the water would have been too dark to see the pipes so we had to approach this in a different way.
To create the water under the waves we composited different environments and atmospheres under the sea. We put lights in to create the realistic rays as they would react with the moving water. We added a particle system to give the impression of bubbles rising up from the sea bed, this helped to achieve a more convincing feel.
We were also set the task of modelling the single-point mooring system (SPM).
One existed near the site, but until we had proper reference of this, we did not know exactly what it looked like, so we set about researching the different types online.
We found a blueprint image with an isometric view to use as reference, together with a document on SPM’s which had breakdowns of some of it’s equipment, functions and dimensions.
This really helped with the modelling process as we were able to set up the 3D scene with the correct units to model accurately. Once the client confirmed that the type of SPM we were looking at matched the one at the site, we began blocking out the model using basic shapes in 3DS Max.
We then received video reference footage shot from a boat and some images to work with. This really helped with the modelling process as it covered most of the SPM.
The only challenge was the lack of real-world reference from the top view, but based on the footage, side images provided and online reference, we were able to get an accurate design.
The SPM needed to be rigged in such a way so that all the attached chains and pipes were linked and could move dynamically.
As it happens, there is usually very little variance in the physical make up of these SPM’s, so the on-line imagery allowed for fairly accurate modelling.
Working in this fashion proves that it is possible to model without exact, clear reference, although it is a challenge and not always ideal – again, reference is essential.
Please see the completed video below:
Project Breakdowns:
View more of our work on www.glue.ie/work
Don’t hesitate to contact our team via [email protected] and to follow us on Facebook.